Welcome to Pinterest Tested! Ever wonder if that miracle cleaner is really miraculous? Or what about that homemade facial cleanser or delicious-looking recipe? The Craft Patch is the place to find out! I am testing Pins that catch my eye to see if they really live up to the claims made on Pinterest. It’s like the Mythbusters of Domesticity!

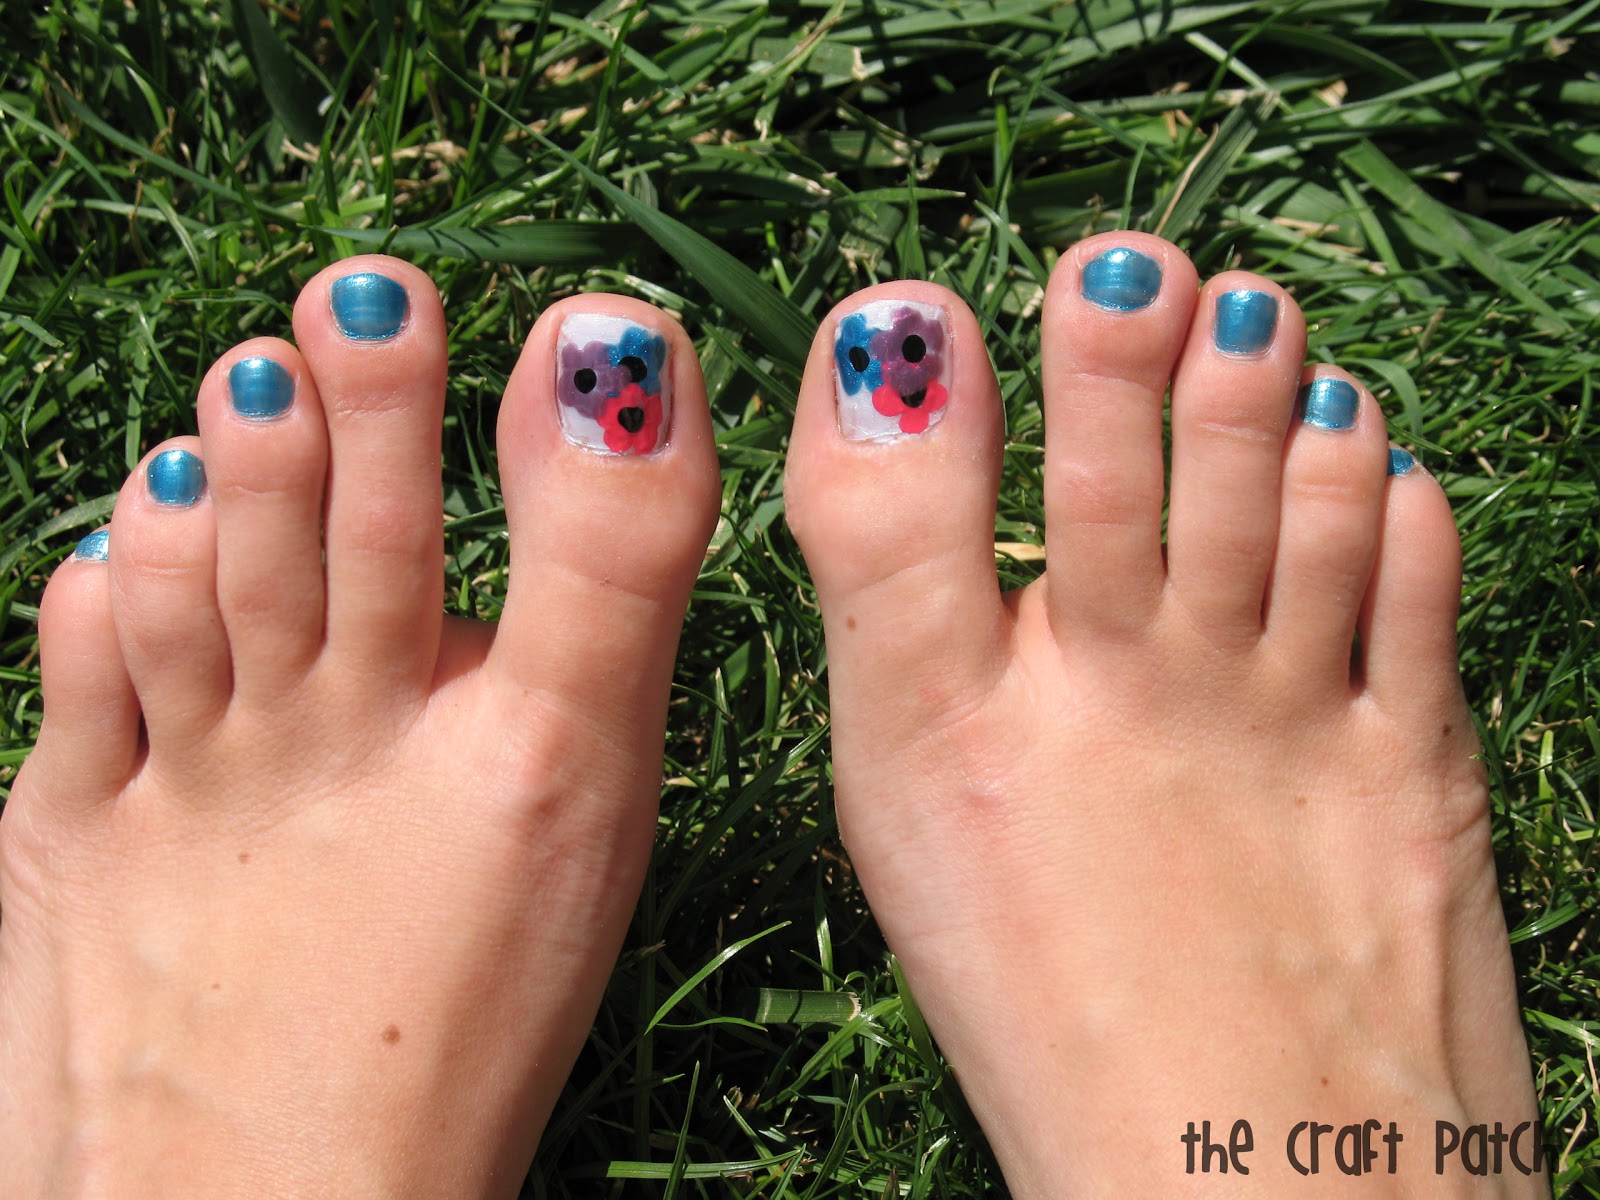
3. Adhere them to your nails using clear nail polish.
To tell you the truth, I am skeptical of this one for some reason. You can just peel the designs off? I don’t know. It just sounds too good to be true. But you know I have to test it…these unbelievable ones are the most tempting ones to test!
So here we go:
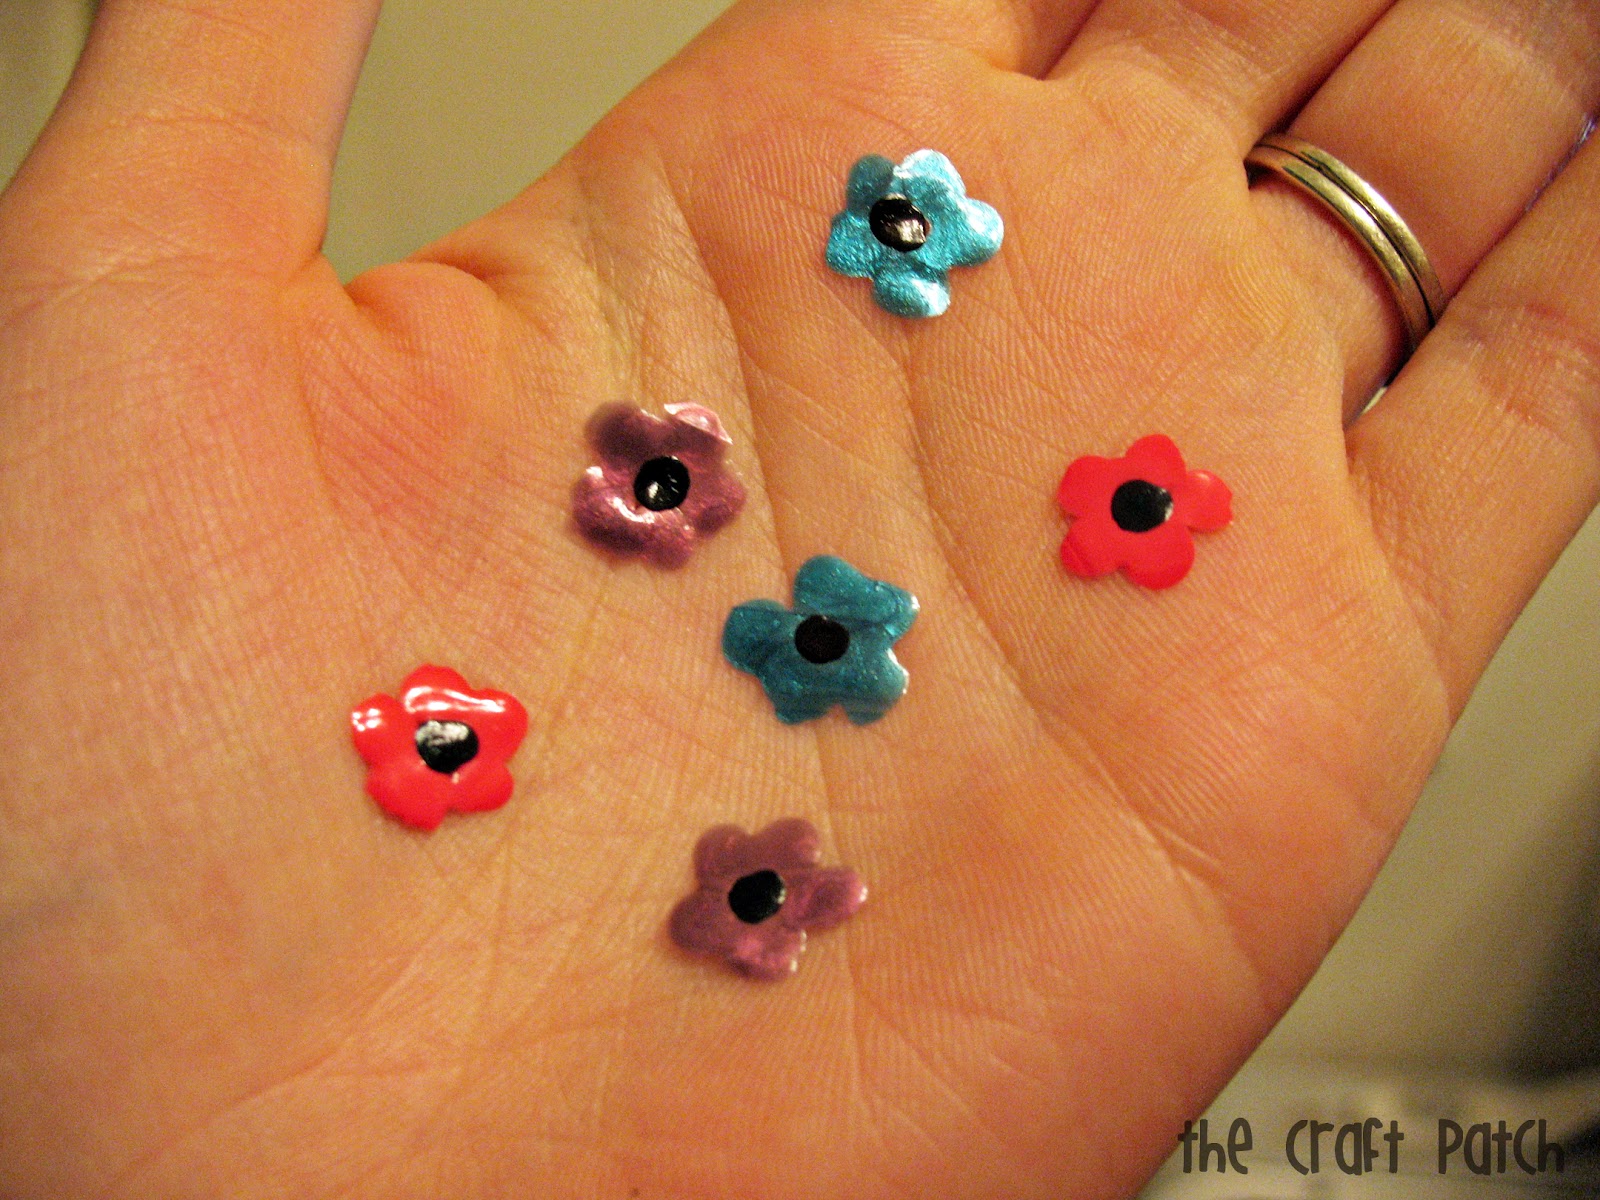
Step 1: Paint designs onto a Ziploc bag using your favorite nail polish. I decided to start with something simple…little flowers. Make sure they are small enough to fit on your nails. At first I thought I would put one flower on each fingernail, then after I had painted the flowers, I remembered that I hate having my fingernails painted.


Comments & Reviews
Do you wait for the nail polish to dry? About how much time did you leave between painting the bag and painting your nail?
Yes, you have to wait until the nail polish is completely dry, which only takes a few minutes. I would paint the designs onto the bag, then paint a base coat on your nails. By then, the designs would probably be ready to peel off.
As a professional nail tech I have experimented with stuff like this for years. Parchment paper works AWESOME for this. I would let the designs dry for a few hours though, or even overnight for best results. Also, as long as you're putting them onto painted nails, they'll stick without putting fresh wet nail polish, just make sure you put clear on top.
Thanks for sharing your expertise, Michele!