
The first thing I did when I brought these paints home was start experimenting. Using basic 1-part this, 1-part that measurements, I tested what happened when I mixed the colors together. Color is extremely complex and sometimes even when you think adding white will just lighten a color, it can change the color completely, so always experiment first. I tried adding bits of other leftover paints I had and painted sample squares on the wall until I found a color I loved.
I ended up pouring the entire gallon of white, 2/3 gallon of a cream color I had left over from another project and about 12 oz of the green paint into an orange Home Depot bucket.

Using a mixing attachment on my electric drill, I gave the paint a thorough mixing. This step is crucial. I mixed my paint for five minutes straight, then checked to see that it was completely mixed, then mixed it for 5 more minutes just to be sure. Can I just tell you how important this is? You do not want streaky paint on your walls!
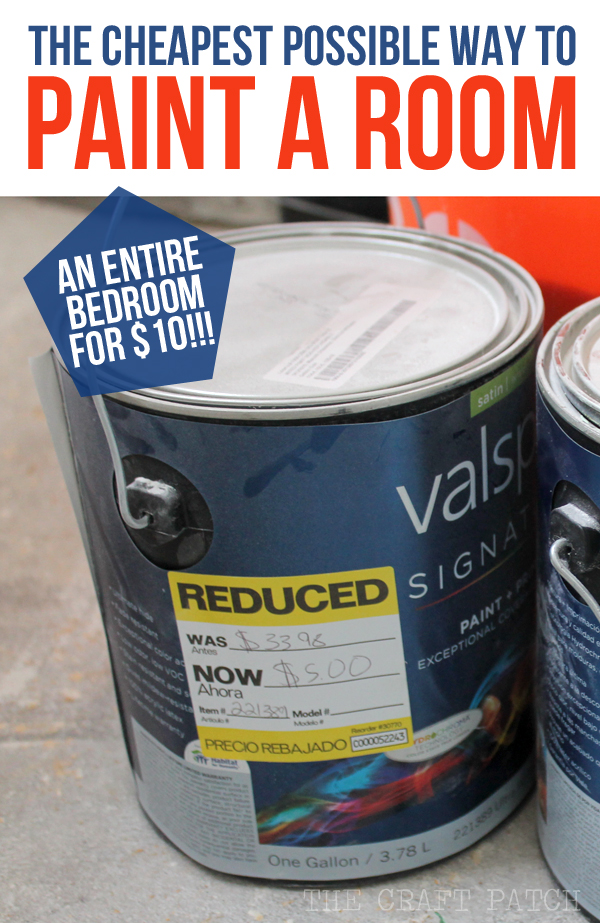
Another crucial tip to being successful at this: mix more paint than you need. You do not want to be 80% done painting a room and run out of a color that is going to be impossible to get more of!! You also don’t want to have to patch a hole in the wall a year later only to have no touch-up paint.
Oh, and one more thing: be sure you only mix latex paint with latex paint. If you mix latex and oil, you will have a huge mess on your hands!
Here’s the bathroom I painted with mistint paint:


Comments & Reviews
I enjoyed reading about using mistint paints. Thank you for that idea. I've been wanting to do a pantry and that would be a very cheap way to do it.
Perfect for a pantry!
I am constantly painting with oops paint. I have learned though , toonly buy quality paint. I have learned my lesson the hard way.
I completely agree!
This is a lovely color you came up with!
Thank you, Mary! I am so happy with it!
I love your advice and knowledge of mixing the paints together. I can’t wait to try. My apt has no solid walls. Every wall has a door or window! It’s so annoying.